

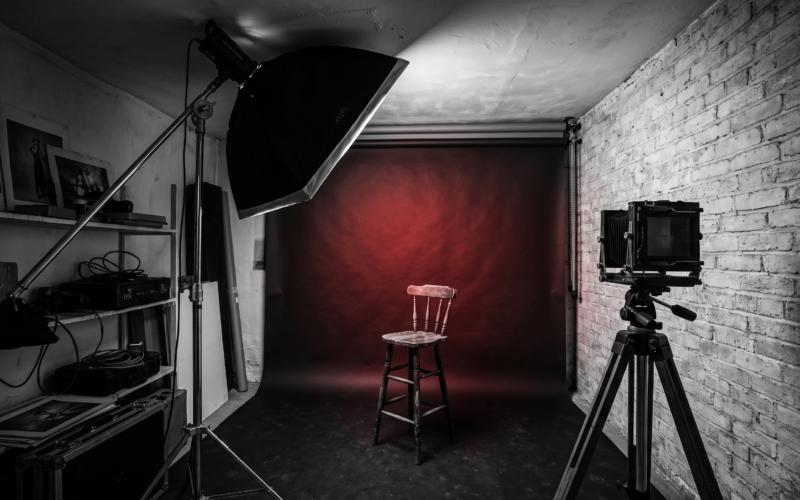
Walk into any photography forum and ask what lighting gear to buy, and you will be handed a shopping list. Walk into our studio and ask the same question, and you will get a different answer: you aren’t ready to spend money yet — one light still has things to teach you.
This is the playbook we run with every beginner on the 360ism Studios floor. Eight setups. One light. Between them, they cover the overwhelming majority of professional portrait situations you will actually encounter.
The eight looks
1. Butterfly. Light high and centered, angled down. The symmetrical shadow under the nose gives the setup its name. Clean, classic, flattering on most faces.

2. Loop. Slide the light 30–45 degrees off center. The nose shadow becomes a small loop toward the shadow-side cheek. The workhorse of portrait lighting.

3. Rembrandt. Keep moving until the cheek’s triangle of light forms under the shadow-side eye. Painterly, dramatic, timeless.

4. Split. Light at 90 degrees. Half the face lit, half in shadow. Instant mood.

5. Broad and 6. Short. Not new positions — new subject angles. Lighting the side of the face turned toward camera (broad) widens; lighting the side turned away (short) sculpts. Short light is the portrait photographer’s quiet superpower.


7. Rim. Light behind the subject, aimed at their edge. Separation, silhouette, drama.

8. Clamshell fill. Add a reflector under any of the front-facing setups and you have beauty lighting — covered in depth in its own lesson.

Why this beats a second strobe
Every additional light multiplies complexity. Photographers who master one light first know what each new light is for. Photographers who skip this stage own more gear and produce muddier pictures. Run all eight setups in one session with one patient friend — that single evening is worth more than the next thousand dollars of equipment.
We run this exact playbook hands-on in the beginner studio courses. Members get the eight diagrams above as a printable pack.
Sign in or join free to leave a comment.